Many DIY projects fail because the leather installation process is too complicated.
Self-adhesive leather is a leather material with a pre-applied pressure-sensitive adhesive backing. Users simply peel off the release paper and apply it directly to surfaces without additional glue, making installation faster and easier than regular leather.
[Image Placeholder: Self-Adhesive Leather Structure]
At first glance, self-adhesive leather looks almost identical to ordinary PU leather or PVC leather. Many buyers even assume they are the same product. The difference only becomes visible when you turn the material over and discover a ready-to-use adhesive layer. This small change completely transforms how the material is installed, who can use it, and where it performs best.
What is Self-Adhesive Leather?
Many people want a quick renovation solution without professional tools.
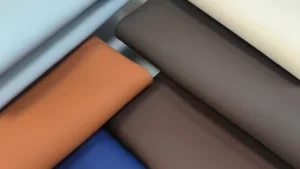
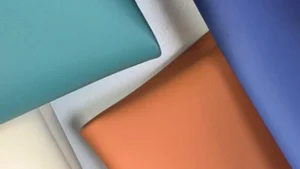
Self-adhesive leather combines a decorative leather surface with a pressure-sensitive adhesive backing, allowing direct application onto furniture, walls, plastic panels, metal surfaces, and many other substrates.
[Image Placeholder: Self-Adhesive Leather Patterns]
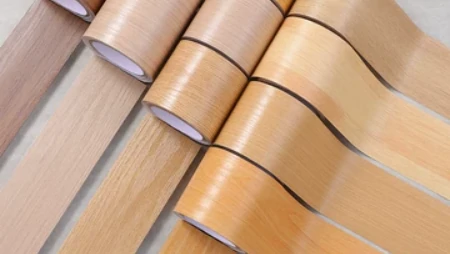
Structure of Self-Adhesive Leather
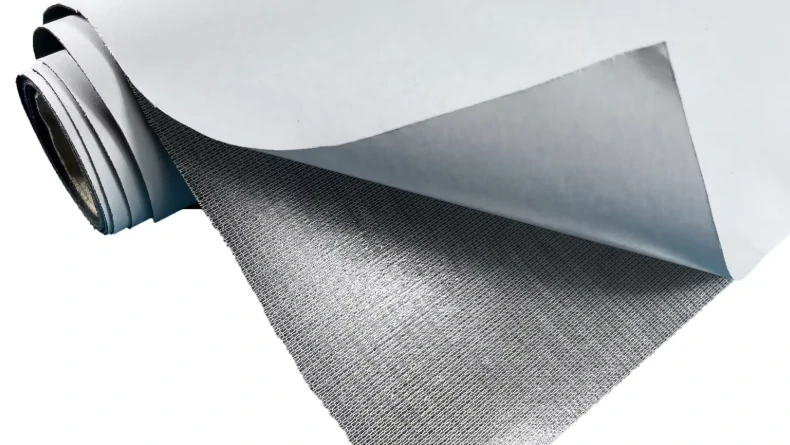
In my experience, self-adhesive leather is one of the easiest synthetic leather products to install. Most products contain three layers.
| Layer | Function |
|---|---|
| Surface Layer | PU leather, PVC leather, microfiber leather, or genuine leather |
| Fabric Backing | Provides strength and flexibility |
| Adhesive Layer | Pressure-sensitive adhesive with release paper |
The adhesive layer is the key difference. Traditional leather requires spray glue, contact adhesive, or manual glue application. Self-adhesive leather already contains adhesive on the backside. Users only need to remove the release liner before installation.
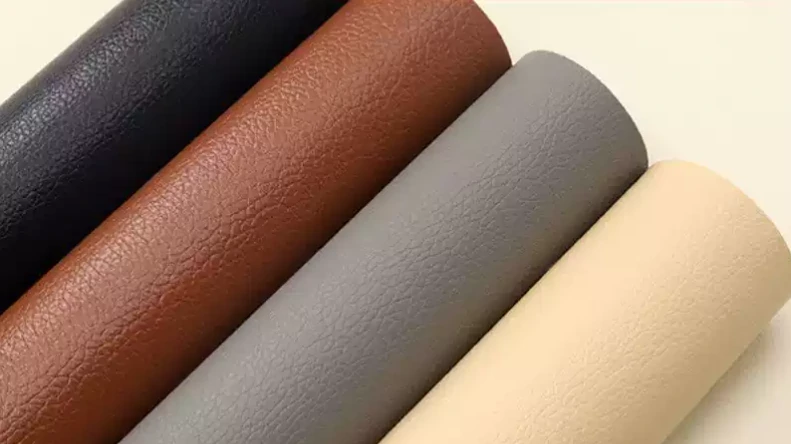
This material is commonly used for sofa renovation, upholstered wall panels, headboards, cabinet refurbishment, automotive interior decoration, hotel projects, and leather repair work. It is especially popular among homeowners who want to complete projects themselves without hiring professional installers.
Key Differences Between Self-Adhesive Leather and Regular Leather?
Choosing the wrong leather can increase labor costs and installation time.
The biggest difference is that self-adhesive leather already contains glue, while regular leather requires separate adhesive during installation.
[Image Placeholder: Self-Adhesive Leather Applications]
Comparison Between Self-Adhesive Leather and Regular Leather
Many buyers focus only on material cost. I usually encourage them to consider labor cost as well. In many projects, labor costs exceed material costs.
| Factor | Self-Adhesive Leather | Regular Leather |
|---|---|---|
| Installation | Peel and stick | Requires glue |
| Skill Requirement | Low | Professional installer preferred |
| Installation Speed | Fast | Slower |
| Durability | Moderate | Higher |
| Heat Resistance | Moderate | Better |
| Humidity Resistance | Moderate | Better |
| Labor Cost | Lower | Higher |
| Material Cost | Higher | Lower |
For large commercial upholstery projects, regular leather often remains the preferred solution because professional adhesives provide stronger long-term bonding performance.
For small renovations and decorative applications, self-adhesive leather often delivers better overall value because installation becomes much simpler.
I often tell customers that self-adhesive leather is not designed to replace every traditional upholstery process. Instead, it creates a new option for projects where convenience is more important than maximum bond strength.
How to Use Self-Adhesive Faux Leather?
Incorrect installation can reduce adhesion and shorten service life.
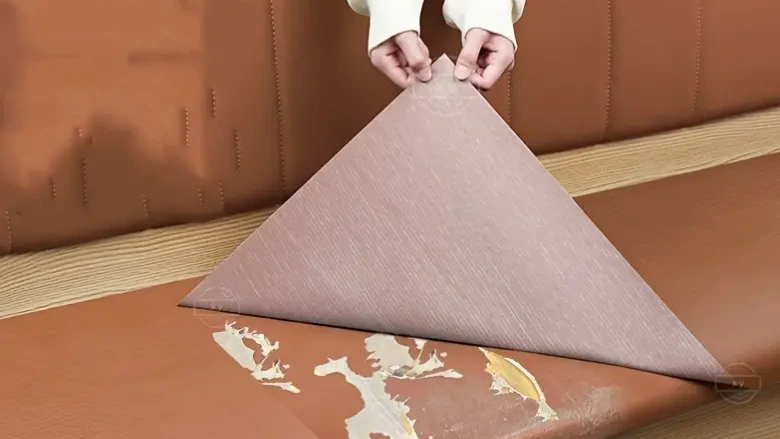
The best installation method is to clean the substrate, remove dust and oil, peel off the release paper gradually, and apply the leather while smoothing out air bubbles.
[Image Placeholder: Installation Process]
Step-by-Step Installation Guide
I normally recommend the following process to customers.
| Step | Description |
|---|---|
| 1 | Clean the surface completely |
| 2 | Measure and cut material |
| 3 | Peel a small section of release paper |
| 4 | Align carefully before sticking |
| 5 | Press from center outward |
| 6 | Remove remaining liner gradually |
| 7 | Apply pressure to improve adhesion |
Flat and smooth surfaces produce the best results. Uneven surfaces may reduce contact between the adhesive and substrate. This can create bubbles or weak bonding areas.
I also recommend avoiding installation in extremely humid environments. High moisture can reduce adhesive performance during application.
Another important point is positioning. Once the material contacts the surface, repositioning becomes difficult. For large panels, installers should work slowly and remove the liner in sections rather than removing the entire liner at once.
For furniture repair, cabinet refurbishment, wall decoration, and automotive trim enhancement, this method can significantly reduce installation time compared with traditional upholstery methods.
Conclusion
Self-adhesive leather offers a fast, clean, and convenient solution for furniture renovation, wall decoration, automotive upgrades, and DIY projects where installation simplicity is the primary requirement.
If you are looking for artificial leather for bags, shoes, wallets or accessories, you can send us your product photo, required thickness, backing, color and target price. We can help recommend suitable PU leather, PVC leather or microfiber leather for your project.